How to adjust your toilet seat
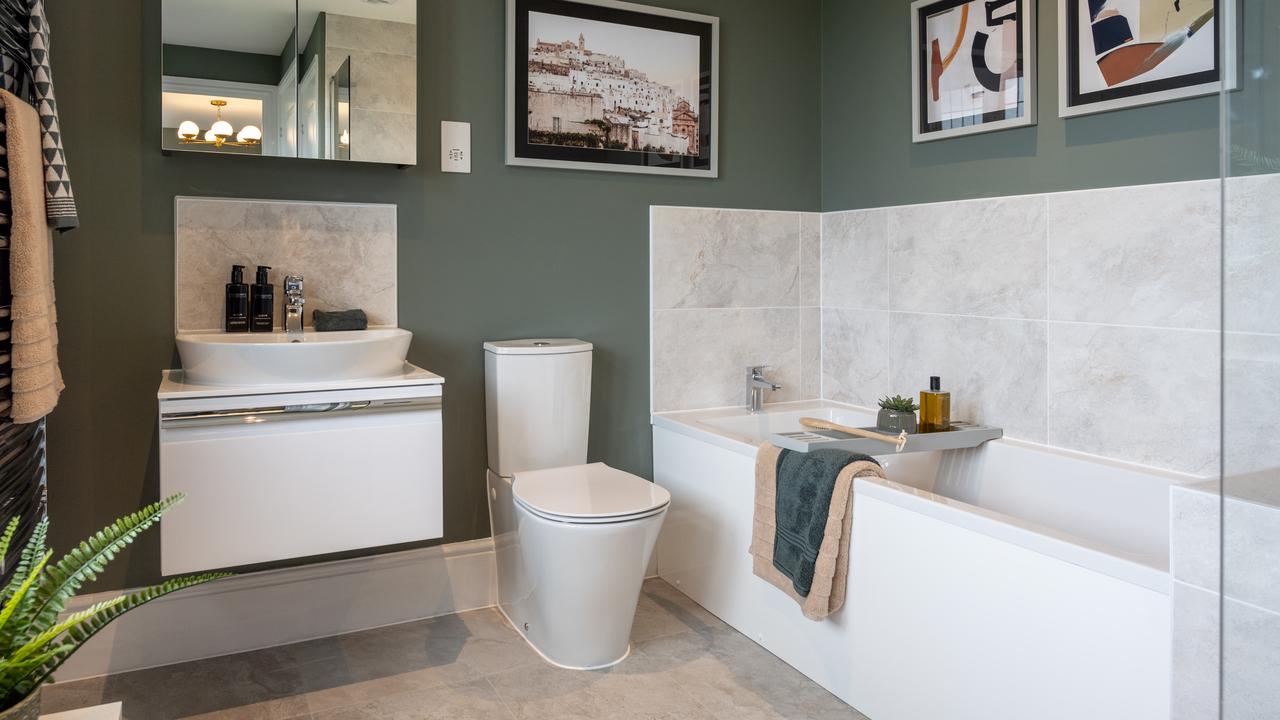
To ensure your new Redrow home remains as comfortable as the day moved in, occasional minor adjustments might be required, including for your toilet seat. Little details in your new home always make the difference, and this is especially true in the bathroom. A wonky toilet seat will not only look odd but can be uncomfortable and prevent the lid from closing properly.
The good news is that adjusting a toilet seat is simple, and all you’ll need on hand is a Phillips head screwdriver and an allen key (hex key).
We’ve outlined the steps for adjusting a toilet seat in your new home below, and you can also watch our quick video guide to see how to do it.
For adjusting a toilet seat, you’ll just need a Phillips head screwdriver with the right head, and an allen key. Start by lifting the toilet seat to reveal the hinges. You should be able to use your allen key in the grooves to turn the hinges and remove the seat.
Remove the caps and set them aside somewhere safe. Loosen the screws that were underneath the caps, making sure not to remove them completely.
Next, you’ll adjust the hinges. The easiest way to check the placement is to put the seat back in place and get it in the right position, before carefully lifting it back off. Then you should have the right positioning for the hinges.
Re-tighten the screws on both sides of the bowl to fasten the hinge plates back in, before putting the caps back on. Then you can replace the toilet seat and tighten with the Allen key.
If you still need to make a few tweaks, it’s easy to take the caps off and move the seat around until it’s in the right place.
Check out the rest of our guides for other easy adjustments around your Redrow home.