Looking after new soil
Planning and growing a new garden are one of the most exciting things about buying a new Redrow home.
As well as decorating inside and arranging your furniture, you’ll likely want to start planning your future dream garden soon after you move in. Buying a new home comes with unlimited potential, but you’ll also need to bear these tips in mind for growing a garden in a new home.
What your garden will look like when you move in
When you first get the keys to your new home, the topsoil Redrow provides will have either been stripped from the development site or imported from elsewhere. It’s important to remember that not all topsoil will be of a rich and perfect condition when it is placed in your garden.
Clay soils can provide a good, fertile medium for growing, as they retain moisture and nutrients; however, they will become waterlogged and unworkable when wet. Sandy soils are the opposite and require improvement to assist with moisture and nutrient retention.
Make a note of the soil type in your garden before you start thinking of laying turf or planting any bulbs or seeds.
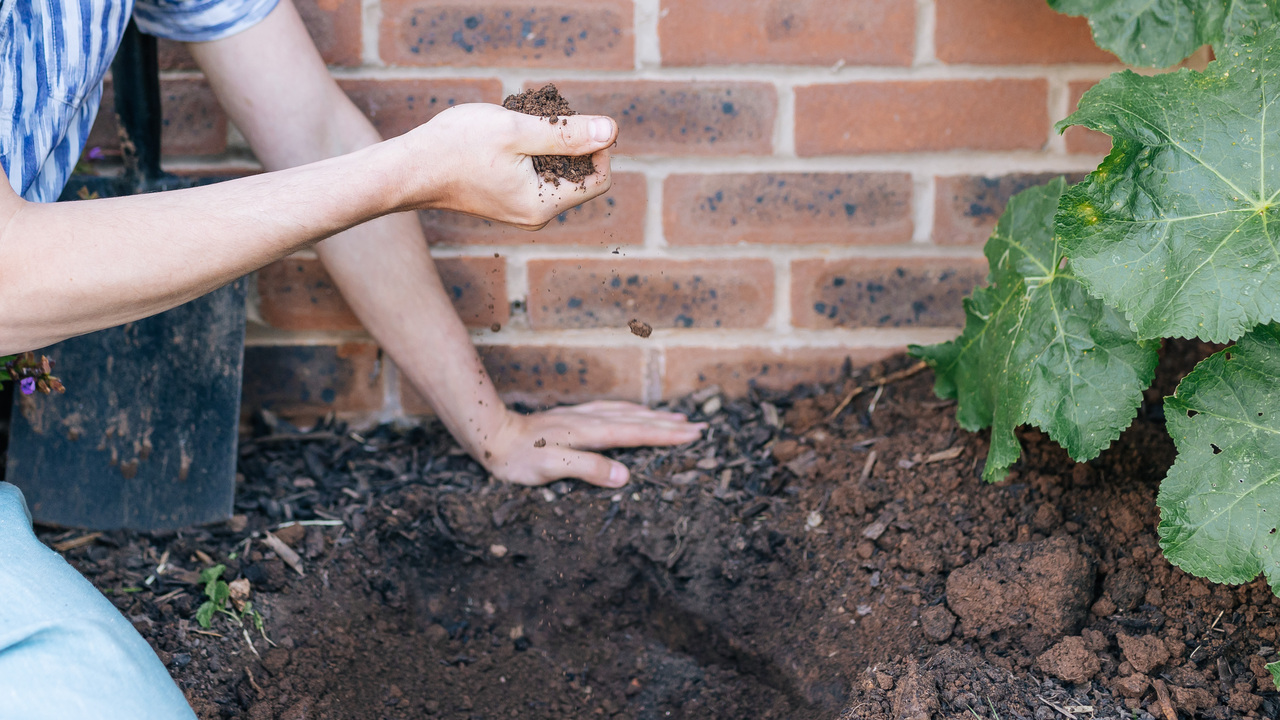
Tips for looking after new soil
When soil is laid out in your rear garden, you must rotovate and roughly rake it, removing any stones that are visible on the surface.
For small areas, you can loosen the soil with a garden fork, then smooth it with a soil rake until it is even.
For larger areas, it’s best to use a powered rotavator and rake smooth afterwards; then, walk up and down in alternate parallel lines, loosening the surface of the soil.
Remove any large stones or debris as you go and remember that as your new home is recently built there may be stones or small pieces of debris to dispose of.
Use the rain to your advantage – rain can wash excess soil off the stones that were previously below the surface, making them easier to spot and remove.
When to improve new soil
Regularly working in soil improver (see below) will gradually improve the structure and fertility of the soil. Improving your soil will also replenish nutrients, which is important for plant growth and planting a lawn.
Once you’ve used soil improver, plants you add later will be more resistant to diseases, pests and adverse weather conditions
Soil can be improved at any time of year; however, your soil type and what you are growing will determine the best time. Empty flower or vegetable beds can be improved in late autumn or winter (at the same time as digging over to plant), providing the soil isn’t too wet. With heavier clay soils, it may be necessary to wait until late March or April to get the best results.
It’s important to avoid digging or walking on the soil when it is wet, as this will further damage the soil structure. If you need to walk over the area, lay down boards or planks to walk over.
How to improve new soil
Depending on the type of soil you have in your new garden, you may need to improve the quality of your soil by regularly working in a soil improver.
Unplanted areas should be thoroughly dug over to relieve compaction. With good, well-cultivated soils, a light forking over will be enough most years. Clay soils can often have a layer of solid clay underneath the top layer. If this is the case with your garden, you’ll probably need to double dig to break this up and prevent a ‘panning’ effect, which can cause problems with drainage.
What to use as a soil improver
There are several different materials you can use as soil improvers, most of which are readily available at your local garden shop or outdoor store. Some commonly used options are:
- Natural: Peat-free soil improvers
- Manure: It should be well-rotted for at least a year, otherwise it will release nitrogen into the soil too quickly which can damage plants
- Compost: Can be made from garden waste, grass cuttings, shredded newspaper and kitchen waste
- Leafmould: Also makes an excellent soil improver and makes good use of leaves cleared from the lawn, however, the nutrient levels are quite low